

Below is a brief step-by-step pictorial of one of our craftsman creating a paperweight from molten silica, through the craftsmans skillful work onto the product showroom.
 |
 |
 |
||
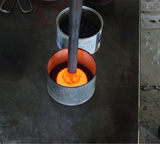
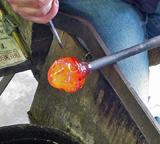
| The first bit of glass is dipped into the glass chips. |
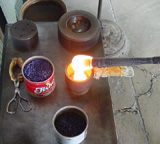
The glass is poured into another mold to add the flowers.
|
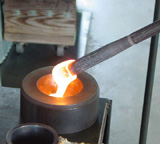
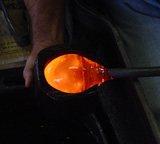
Another layer of glass is placed on the flower chips.
|
||
 |
 |
 |
||
|
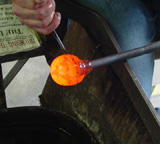
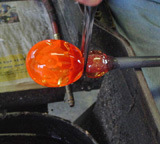
The bubbles are made with a special tool.
|
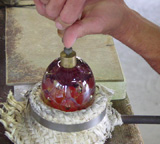
An ice pick is used to create the stems of the flowers.
|
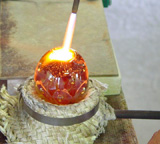
The paperweight is blocked to take on its initial shape.
|
||
 |
 |
 |
||
|
The paperweight is gradually cut off of the pontil.
|
The bottom of the paperweight is heated before it is stamped.
|
The paperweight is stamped with date & name.
|